Club Forum

Things that go bump...

Create a topic for your vehicle here and let everyone know what you are doing/have done to/with it !
User avatar
Jabba
Posts: 339
Joined: Mon May 10, 2010 4:08 pm
Location: Darley
Full Name: Dave Ladell

Things that go bump...

Postby Jabba » Thu Sep 23, 2010 3:38 pm

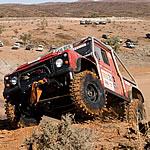
Given the advice from several club members and some blind naivety of my own, the magical process of turning a length of steel box section and some odds and ends into a superb, world class HD bumper has begun.

How hard can it be....

First stage was to pick up a length of 100x75x3 box from Dave for a few beer tokens. (Thanks Dave)
This was soon followed by lots of holding it up against the std bumper to see how it might fit, head scratching and drinking tea. Given a lack of fag packets, I had to resort to proper paper for some rough sketches.
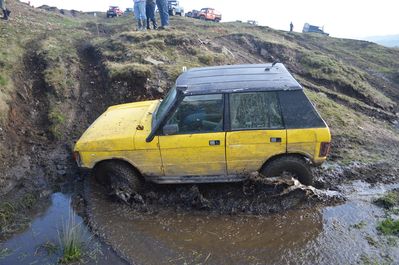
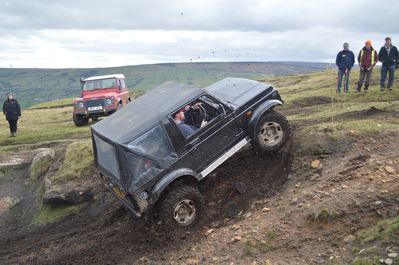
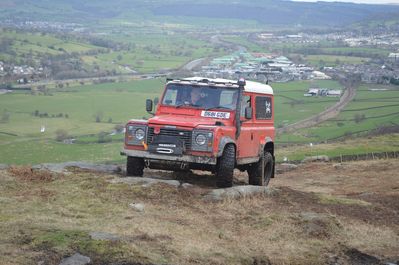
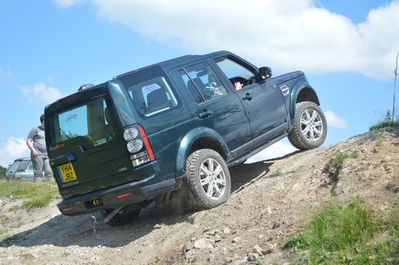
Photos of other, commercial bumpers gave ideas too.

So, it should turn out to be much like the Devon 4x4 bumpers, tapered up at each end with recover loops welded in, in line with the chassis rails.

Let the cutting commence!
You do not have the required permissions to view the files attached to this post.

User avatar
tecnick
Posts: 969
Joined: Tue Jan 09, 2007 9:52 am
Location: Leeds
Full Name: Nick Adams

Postby tecnick » Thu Sep 23, 2010 4:32 pm

Good luck, I wish I could weld. must practice more

Cheers nick
If it ain't broke, I'd be bloody suprised.

TwoSheds
Posts: 1092
Joined: Thu Jan 18, 2007 8:01 pm
Location: M1/M62
Full Name: Roger Watkinson

Re: Things that go bump...

Postby TwoSheds » Thu Sep 23, 2010 5:12 pm

That's a good cut - what did you use?

User avatar
Jabba
Posts: 339
Joined: Mon May 10, 2010 4:08 pm
Location: Darley
Full Name: Dave Ladell

Postby Jabba » Thu Sep 23, 2010 5:19 pm

Mr angry grinder.

I wore ear plugs after the first set of cuts as I had a funny ringing noise reverberating round my skull even though I was outside. Should have known better really.

Now got to fettle the cuts and make sure both ends look even. Then tack weld them.
You do not have the required permissions to view the files attached to this post.

User avatar
Jabba
Posts: 339
Joined: Mon May 10, 2010 4:08 pm
Location: Darley
Full Name: Dave Ladell

Postby Jabba » Thu Sep 23, 2010 5:20 pm

Tecnick wrote:Good luck, I wish I could weld. must practice more


My welding gets better the more I do. At this rate it might be passable by the time I repair the bulkhead!

User avatar
Jabba
Posts: 339
Joined: Mon May 10, 2010 4:08 pm
Location: Darley
Full Name: Dave Ladell

Postby Jabba » Fri Sep 24, 2010 8:53 pm

Got the ends folded and welded today. Not too many diarrhetic chickens around, although the later welds do looks better than the first ones.
Getting more confident that the mounting points might even hold up to a recovery :shock:
You do not have the required permissions to view the files attached to this post.

bandiflip
Posts: 1166
Joined: Sat Sep 13, 2008 10:14 pm
Location: Bradford
Full Name: phil johnson

Postby bandiflip » Fri Sep 24, 2010 9:41 pm

Hmmm...i think ure a welding Hustler.... :lol:
do you know the meaning of Nemesis ???

User avatar
Jabba
Posts: 339
Joined: Mon May 10, 2010 4:08 pm
Location: Darley
Full Name: Dave Ladell

Postby Jabba » Fri Sep 24, 2010 9:44 pm

bandiflip wrote:Hmmm...i think ure a welding Hustler.... :lol:


No, just enjoying welding clean, good metal for a change rather than cr*py rust riddled junk. :)

User avatar
Jabba
Posts: 339
Joined: Mon May 10, 2010 4:08 pm
Location: Darley
Full Name: Dave Ladell

Postby Jabba » Sat Sep 25, 2010 5:43 pm

Finishing off the ends today. Decided to chamfer them front to back as well.
You do not have the required permissions to view the files attached to this post.

User avatar
Jabba
Posts: 339
Joined: Mon May 10, 2010 4:08 pm
Location: Darley
Full Name: Dave Ladell

Postby Jabba » Sat Sep 25, 2010 5:45 pm

Then just as I was finishing off...

... the welding tip stuck to the wire and pulled out of the gun. :(

Still just over 15 years out of one welding tip isn't bad I suppose. New one ordered along with the swan neck.
You do not have the required permissions to view the files attached to this post.

User avatar
tecnick
Posts: 969
Joined: Tue Jan 09, 2007 9:52 am
Location: Leeds
Full Name: Nick Adams

Postby tecnick » Sat Sep 25, 2010 7:08 pm

mmm I'm always doing that to the one at school, is it coz I get it too close or just coz I is s**t at welding.

Cheers Nick
If it ain't broke, I'd be bloody suprised.

User avatar
Jabba
Posts: 339
Joined: Mon May 10, 2010 4:08 pm
Location: Darley
Full Name: Dave Ladell

Postby Jabba » Sat Sep 25, 2010 7:17 pm

From how I was welding at the time (and subsequently reading the tips in the manual while looking for parts diagram) I think I was toooooo close.

Oh well, never too late to learn. Bodged it back together for now so at least I can carry on without having to wait for the new parts.

User avatar
davew
Chairman
Posts: 2242
Joined: Fri Jan 05, 2007 8:54 pm
Location: Knaresborough
Full Name: Dave White

Postby davew » Sat Sep 25, 2010 11:07 pm

If you are using 0.8 wire I should have some spare tips, finding them on the other hand.... :)

TwoSheds
Posts: 1092
Joined: Thu Jan 18, 2007 8:01 pm
Location: M1/M62
Full Name: Roger Watkinson

Postby TwoSheds » Sun Sep 26, 2010 5:13 am

davew wrote:If you are using 0.8 wire I should have some spare tips, finding them on the other hand.... :)
They should be in a little box inside the welder cover where the drum of wire goes... :)

User avatar
tecnick
Posts: 969
Joined: Tue Jan 09, 2007 9:52 am
Location: Leeds
Full Name: Nick Adams

Postby tecnick » Sun Sep 26, 2010 8:26 am

For the Clarke welder we have at school, the tips are very cheap. The swan neck however seemed to be expensive. Matthew made ours work better some how.

Cheers Nick
If it ain't broke, I'd be bloody suprised.


Return to “Member's Vehicles”

Who is online

Users browsing this forum: No registered users and 10 guests

cron