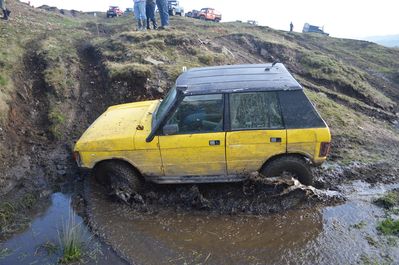
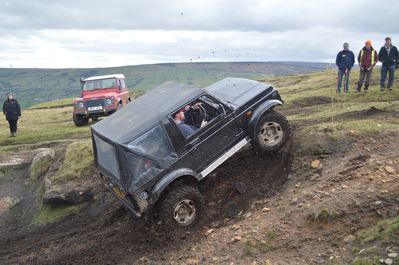
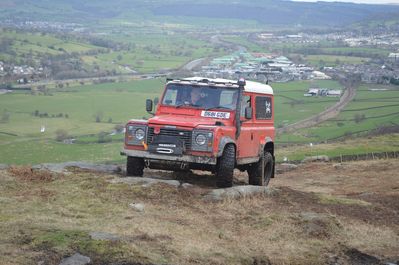
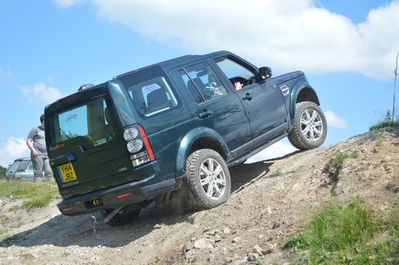
Another 90 joins the pack ...............
It's a bit time consuming the first time you do it but not too complicated and can be done with basic tools.
http://www.landyzone.co.uk/lz/f38/how-replace-diff-input-bearing-64301.html
http://www.landyzone.co.uk/lz/f38/how-replace-diff-input-bearing-64301.html
5/4 of people admit that they’re bad with fractions.
More bulkhead trauma !
So I've got the bulkhead all welded up and solid, painted the new bottom feet that fix the bulkhead to the outrigger and just about ready to pop the bulkhead back on when...............
...............although the old 'feet' had pretty much rotted away, the top parts (that slides into the bulkhead) were still stuck fast in the bulkhead. No problems thinks I - I'll just free them off and they should slide out.
Two hours later and following some increasingly hefty work with a hammer and cold chisel I find out that the reason the remains of the 'feet' won't come out easily is because in fact they've been spot welded onto the bulkhead itself . I guess I should have probably realised that there would have to be some mechanical fixing between the feet and the bulkhead itself otherwise in theory the bulkhead may well jump off its mountings if you went over a big enough bump.
Anyway I've mangled the bottom of one of the bulkhead posts with my cold chisel antics and examining the other, you can't see where the spot welds are to drill them out so I've ordered a pair of lower door pillar repair sections from LRM with the intention of cutting the bottom 8 inches or so of the existing pillar out (the bit that has the remains of the feet stuck inside it) and replacing it with the bottom section of the new parts.
I'll then have to spot (or otherwise) weld the new feet into position on the bulkhead before I fit it.
I'm thinking of writing a book "Pitfalls to avoid when rebuilding your Land Rover" - although I suspect someone will helpfully post a link to an existing piece of literature !!!
Keeping the faith
Cheers
Mark
...............although the old 'feet' had pretty much rotted away, the top parts (that slides into the bulkhead) were still stuck fast in the bulkhead. No problems thinks I - I'll just free them off and they should slide out.
Two hours later and following some increasingly hefty work with a hammer and cold chisel I find out that the reason the remains of the 'feet' won't come out easily is because in fact they've been spot welded onto the bulkhead itself
Anyway I've mangled the bottom of one of the bulkhead posts with my cold chisel antics and examining the other, you can't see where the spot welds are to drill them out so I've ordered a pair of lower door pillar repair sections from LRM with the intention of cutting the bottom 8 inches or so of the existing pillar out (the bit that has the remains of the feet stuck inside it) and replacing it with the bottom section of the new parts.
I'll then have to spot (or otherwise) weld the new feet into position on the bulkhead before I fit it.
I'm thinking of writing a book "Pitfalls to avoid when rebuilding your Land Rover" - although I suspect someone will helpfully post a link to an existing piece of literature !!!
Keeping the faith
Cheers
Mark
Mark, a word of advice from bitter experience, whenever you do any repairs to the bottom bulkhead mounts, if at all possible do one side at a time and make sure you have the bulkhead bolted to the Chassis before you start. If the main mounts are completely shot, use the forward mounts to start with as no matter how accurate you think you have been with the measuring, the chances of getting the main mounts the correct distance apart and parallel to each other are pretty slim.
If you do have to use the forward mounts tie rope to the top of the bulkhead which in turn is tied to the front of the chassis also a couple of bottle jacks under the foot-wells are good for squaring things up. You need to be able to adjust everything square before you start welding. Once you start welding, you will be lucky to get in with a spot welder and will have holes where they should be after you drilled the old ones out so just puddle weld through those with the mig into the new metal and then disc them off.
If you do have to use the forward mounts tie rope to the top of the bulkhead which in turn is tied to the front of the chassis also a couple of bottle jacks under the foot-wells are good for squaring things up. You need to be able to adjust everything square before you start welding. Once you start welding, you will be lucky to get in with a spot welder and will have holes where they should be after you drilled the old ones out so just puddle weld through those with the mig into the new metal and then disc them off.
5/4 of people admit that they’re bad with fractions.
Bo
See pictures below. The door pillars on the bulkhead are in good condition (rot wise) and the only reason I'm replacing the bottom bit of them is 'cos the remains of the old feet are still welded inside them.
I take the point re welding it together in situ (I take it you mean bolt the feet to the outriggers, slip the bulkhead over them and then weld it all together?) but didn't quite get the point about the rope and the jacks - or was that to make sure the bulkhead was vertical before I weld it?
Cheers
Mark
You do not have the required permissions to view the files attached to this post.
Hi Mark, once you have bolted the feet to the outriggers, use the jacks to set the height of the bulkhead and the rope to pull it forward in to the vertical position. (they usually fall backwards if the dash and column are in place). Bolt the wings on to the door pillar mounts and pull it until the front wing mounting hole aligns with the one on the front of the chassis. If you don't get the bulkhead in the right position, the doors and rear tub are a nightmare to align.
5/4 of people admit that they’re bad with fractions.
Bo/Matthew
I'm fine with the vertical aligment using the wings but a bit confused about the height stuff. See pictures below, but the 'height' of the bulkhead is effectively set by how far the 'feet' go up inside the bulkhead (door pillar leg) itself eg. the less of the foot goes into the bulkhead the higher the bulkhead will be.
In order for the cut-outs for the bottom door hinges to be aligned, the cut-outs in the foot have to be in the same place as those in the bulkhead door pillar which effectively constrains how far the foot goes into the bulkhead and therefore the height of the bulkhead.
Have I got this wrong or is there some other method of setting the bulkhead height? (And a subsequent question - how do I guage what the height should be, especially as the front wings will be fixed to the bulkhead anyway and I've not got any of the other body in place yet?)
Cheers
Mark
You do not have the required permissions to view the files attached to this post.
Mark
You may be able to assemble all the sections of the body, incuding the roof in position using supports where necessary, and bolt all the parts together. You could use clamps to hold the legs of the door pillars and finally weld them in when you have all the door clearances and body mounts correctly positioned and bolted together.
If you do decide to weld the door pillars i would only use a few spot welds until you are sure it is correct.
Jim
Jim Poulton 
Right - following advice from a number of people I managed to cut the bottoms of the door pillars and removed the remains of the old feet, then fixed the new feet to the outriggers and slotted the bulkhead on. I've also re-fitted the front wings to make sure the front alignment is OK and I'll put the tub and roof on temporarily tomorrow to check out the rear alignment.
One thing I have notices though is when the bulkhead is right down as far as it will go, there's still about a threequarters of an inch gap between the bulkhead support brackets that fit onto the chassis in front of the bulkhead and the footwell that the bracket is meant to fix to (see photo). In effect, the bulkhead needs to move forward about threequarters of an inch to meet it. The only way I can achieve this is to cut off the front part of the spacer tube on the foot (the bit that the main bolt goes through) which will move the bulkhead forward towards the outrigger.
I think I read something on another forum about someone having to do this on a re-build, however I'm going to wait until I've got the tub and roof on first before I actually do any cutting.
Let's see what tomorrow brings.
Cheers
Mark
PS. Opened the box of bits from LR Fasteners today for the first time (needed the bolts & fixings for the front wings) and I'm really impressed. Everything was marked up in bags as to what it was for and I think this stuff will be invaluable, particularly as I probably had to grind off about 75% of the fixings when I stripped it down.
You do not have the required permissions to view the files attached to this post.
Dashboard Guages
Right, now started to think about internal cab layout and what additional gauges I might need/want. Started with a bigger list but whittled it down to just an oil pressure gauge and a voltmeter. Open to suggestions as to whether they (or indeed other gauges) would be useful additions. I'm going for a Raptor dash console rather than the Mud one so need to work out exactly what switches/gauges I need before ordering it as it comes with cutouts already made.
Cheers
Mark
Cheers
Mark
Re: Dashboard Guages
IMHO, oil pressure and volts gauges are spot on.
Who is online
Users browsing this forum: No registered users and 7 guests


